In this tutorial I'm going to show you how to make this small charm consists of rolling pin, eggs and piece of rolled out dough.By adding brooch base or ring base you can easily transform it into nice jewelry piece and a cute gift for baking/cooking lover .
Materials: - polymer clay in beige,white and yellow - FIMO liquid - baby powder - epoxy glue - toothpick,skewers or any other wood sticks
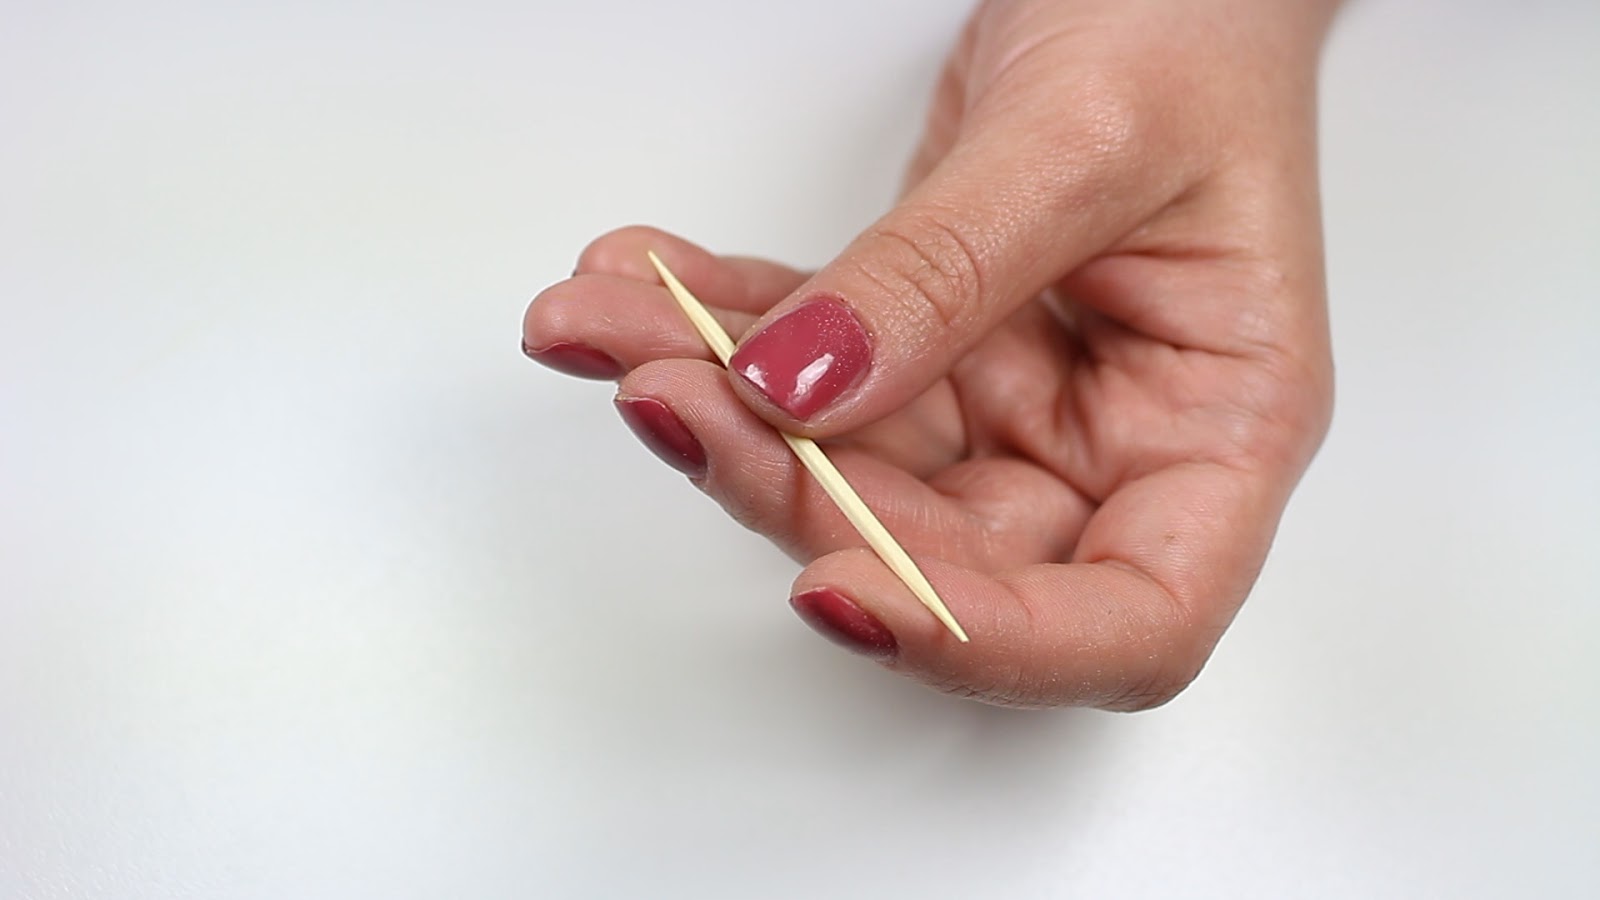
Start off by choosing materials to create rolling pin - I decided to use old paint brush handle and toothpicks.
Using x-acto knife I'm cutting out desired size for rolling pin base.
Use sanding paper or nail file to smooth out rough edges.
Now I'm going to create rolling pin handles simply by cutting out two even pieces from toothpick.
I'm using epoxy glue to attach handles to the base.
Voila! Rolling pin is ready.
To create piece of rolled out dough mix white and beige clay
Now roll it out gently.
Take Fimo liquid or TLS.
Spread it evenly on the top of the dough to create thin layer.
Now sprinkle a little bit of baby powder on the top and bake the creation according to instructions on your polymer clay packaging.
Meanwhile prepare miniature chopping board.See tutorial here ->
To create egg put a little bit of Fimo liquid on the piece of foil or baking paper.
Create tiny yellow ball. And place it in the middle.Bake for 20- 30 min.
In this tutorial I'm showing you how to make polymer clay tortilla and what are the results of late night editing aka "dotting school".....hehe.You can easily transform it into a jewelry charm or fridge magnet.Without further ado...hey ho, let's go!
Start with beige clay.Create a ball, then roll it out using acrylic roller. You should get thin, round tortilla.
Texture it using a piece of aluminium foil.Alternatively you can use toothbrush or piece of sandpaper.
Shade using soft pastels and tiny brush.I used two shades - ochre & dark brown.I created bigger dots using ochre and then add dark brown to make those "burns" look slightly more realistic.
Again take a piece of aluminium foil and shape your tortilla on that base.Aluminium core won't let your tortilla to deform during baking. Bake the tortilla according to your polymer clay brand recommendation.
After baking simply remove aluminium base and let the tortilla to cool down completely.
In the meantime create a tear shape from mix of white and beige clay.You want the color to be slightly brighter than one used for tortilla.Texture it using dotting TOOL ;)
Shade using soft pastels.
Slice the chicken fillet using razor.
Finally add more texture using dotting tool.
To create bell pepper slices roll out piece of red clay.
Using X-acto knife cut out desired shapes.
I decided to make red and yellow slices to make whole creation colorful.
Prepare green clay.
Again use dotting tool to create green leaf lettuce.
Place a piece of scrap clay in the tortilla.It will help to attach lettuce pieces. Start adding lettuce.
Then attach chicken pieces...
...pepper slices
and onion slices.
Finally shape a cone from piece of alluminium foil and secure it using epoxy glue. Ready!


 And place it in the middle.Bake for 20- 30 min.


