As this blog ment to be not only about polymer clay crafts but DIY and random projects I decided to make something different - Easter card tutorial.
A few weeks ago I saw on one of my favourite pages - Pinterest (which researching quickly becomes my daily routine:) cute bunnies water paint.I was quite sceptical about doing something not clay related, esspecialy that last time I was painting something was so soooo long time ago, that I honestly couldn't remember.Anyways, I bought some cheap watercolors and brushes and fun begun!
Hope you're gonna find this tutorial helpful and inspiring.It's sad that nowadays tradition of sending holidays cards becomes more and more forgotten.I love sending cards as well as receiving them especially when they're handmade.It's not about making them perfect.It's just a way of telling your family and friends that you wish them all the best.The thing which is the most important is that you put an effort to make for them something special.
Have fun! :)
For this project you're gonna need:
- watercolors
- yellow cardboard size A4
- piece of green cardboard (I use one with white polka dots)
- one sheet of watercolors paper (I have size A4 but if you have A5 it would be even easier)
- glue
- white permanent marker
- black permanent marker
- scissors
- pencil and eraser
- ruler
Let's go!
1. Firstly, prepare yellow cardboard by bending it in half.
2. Do the same with sheet of watercolors paper to get auxiliary line and just cut it in the half.
3. Take one half of watercolors paper sheet and using ruler cut away 5cm from width and 4cm from lenght.The rectangle which you get will be the base for our water paint.
5. Now prepare watercolors and paint brushes.
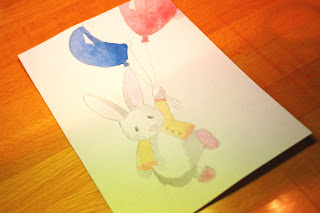
6. Your sketch before painting should look like this.
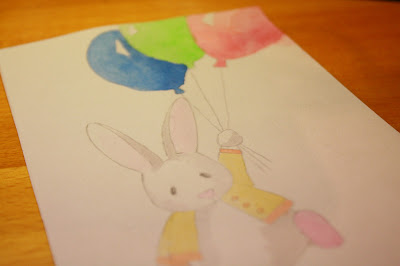
7. Now just start to paint:)
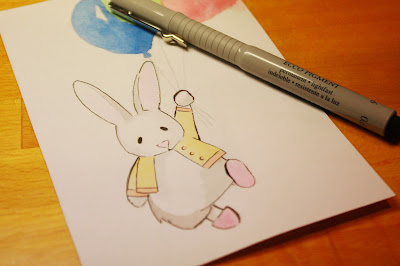
8. When you're finish painting and your paint dry take black permanent marker and make contour.
9. Glue your rabbit paint to yellow cardboard base. Leave about 4 cm for inscription.
10. Take a piece of green paper (13cm/3cm) and draw grass outline with the pencil.Then take scissors and cut the grass shape.
11. Now glue grass to the card.
12. Take white permanent marker and write "Happy Easter".
13. Now take black permanent marker and make some shading.
And it's ready! Hope you'll like it.
Have great rest of the day! If you like it please subscribe. Love, This Charming Stuff <3


